Keeping a sourdough starter alive without refrigeration is an ancient practice that connects modern bakers with traditional breadmaking wisdom passed down through generations.
For thousands of years, bakers have maintained vibrant, active yeast cultures at room temperature, long before refrigerators became household staples. This method isn’t just historically authentic—it’s actually the most natural way to keep your starter in peak condition. Many bakers find that their starters develop more complex flavors, stronger fermentation power, and more predictable behavior when kept at ambient temperature rather than being constantly chilled.
The key to successful room-temperature starter management lies in understanding the simple biological needs of wild yeast and lactic acid bacteria. These microorganisms are remarkably resilient and adaptable, thriving in the right conditions without any modern conveniences. By mastering a few sustainable techniques, you can maintain a healthy starter that’s always ready to bake with, while reducing energy consumption and simplifying your routine.
🌾 Understanding Your Starter’s Natural Rhythm
Wild yeast cultures operate on predictable cycles that become second nature once you learn to recognize them. At room temperature, typically between 68-75°F (20-24°C), your starter will move through distinct phases: feeding, rapid growth, peak activity, and eventual decline. This complete cycle usually takes 8-12 hours, depending on temperature, hydration level, and the strength of your culture.
During the growth phase, you’ll notice the starter doubling or even tripling in volume, developing a domed or bubbly surface, and emitting a pleasant, slightly tangy aroma. The peak represents the moment of maximum leavening power—this is when your starter should be used for baking or refreshed with new flour and water. After the peak, the starter begins to collapse, the acidity increases, and a layer of liquid (hooch) may form on top.
Learning to read these signs allows you to time your feedings perfectly, maintaining optimal yeast health without guesswork. Temperature plays a crucial role in this rhythm. Warmer environments accelerate fermentation, requiring more frequent feedings, while cooler spots slow everything down. Finding the right location in your kitchen becomes part of the art.
Establishing a Sustainable Feeding Schedule
The foundation of successful room-temperature starter maintenance is a consistent feeding routine that matches your starter’s consumption rate with fresh flour and water. For most active starters kept at typical room temperature, a twice-daily feeding schedule works beautifully—once in the morning and once in the evening, roughly 12 hours apart.
Each feeding should maintain a consistent ratio. A common approach is the 1:1:1 ratio: one part starter to one part flour to one part water by weight. For example, if you keep 50 grams of starter, you’d add 50 grams of flour and 50 grams of water at each feeding. This ratio provides adequate nutrition while preventing the accumulation of excess acidity.
If you bake less frequently or want to reduce feeding frequency, you can adjust to a 1:2:2 or even 1:3:3 ratio, which dilutes the starter with more fresh food, extending the time until the next feeding is needed. Some experienced bakers successfully maintain starters with just one daily feeding using these higher ratios, especially in cooler environments.
Adapting to Your Lifestyle
The beauty of room-temperature maintenance is its flexibility. If your schedule changes or you need to be away for a day, your starter can handle some variation. A mature, well-established starter is remarkably forgiving. You might return to find it slightly more acidic with some hooch on top, but a good feeding will bring it back to full vitality.
For bakers who work irregular hours, consider keeping your starter in a slightly cooler spot (around 65-68°F) where fermentation slows naturally. This can extend the feeding window to 18-24 hours without compromising health. A basement, interior closet, or cooler corner of your kitchen often provides this moderate environment.
🌡️ Temperature Management Without Technology
Controlling temperature naturally is one of the most important skills in non-refrigerated starter care. Your home already contains multiple microclimates that you can leverage for optimal yeast management. The key is identifying and utilizing these zones strategically throughout the day and across seasons.
During warmer months, seek out the coolest areas of your home. Interior rooms away from windows, lower cabinets (since heat rises), or even a basement or cellar provide naturally cooler environments. Conversely, in winter, you might place your starter near (but not on) a warm appliance, on top of the refrigerator where ambient heat collects, or in a cabinet near your stove.
A simple ceramic or stone crock makes an excellent starter container for temperature regulation. These materials insulate against rapid temperature fluctuations, maintaining a more stable environment for your culture. Avoid metal containers, which conduct temperature changes quickly and can react with the acidic starter.
Seasonal Adjustments for Consistent Results
As seasons change, your feeding schedule should adapt accordingly. Summer heat accelerates fermentation dramatically—what takes 12 hours in spring might finish in just 6-8 hours during a heat wave. Watch for signs of over-fermentation: excessive hooch, extremely sour smell, or a starter that collapses quickly after rising.
Winter presents the opposite challenge. Cold temperatures slow yeast activity, potentially extending fermentation to 16-18 hours or more. You might reduce your feeding ratio (less flour and water relative to starter) to compensate, or simply accept longer intervals between feedings. Some bakers embrace this natural slowdown as a season of rest for their culture.
Maintaining Optimal Hydration Levels
The consistency of your starter—known as hydration percentage—significantly impacts its behavior and maintenance needs at room temperature. A standard 100% hydration starter (equal weights of flour and water) offers a balanced approach that’s easy to manage and versatile for most bread recipes.
Stiffer starters, at 50-80% hydration, ferment more slowly and develop different flavor profiles. These require less frequent feeding and are excellent for bakers seeking a once-daily feeding schedule. The lower moisture content creates a less active environment that wild yeast traverses more slowly, extending fermentation time naturally.
Conversely, liquid starters at 125-200% hydration ferment rapidly and develop more acetic acid, creating tangier flavors. These require more attention and frequent feeding but reward bakers with distinctive sour notes. Experimentation helps you discover which hydration level fits your schedule, baking style, and flavor preferences.
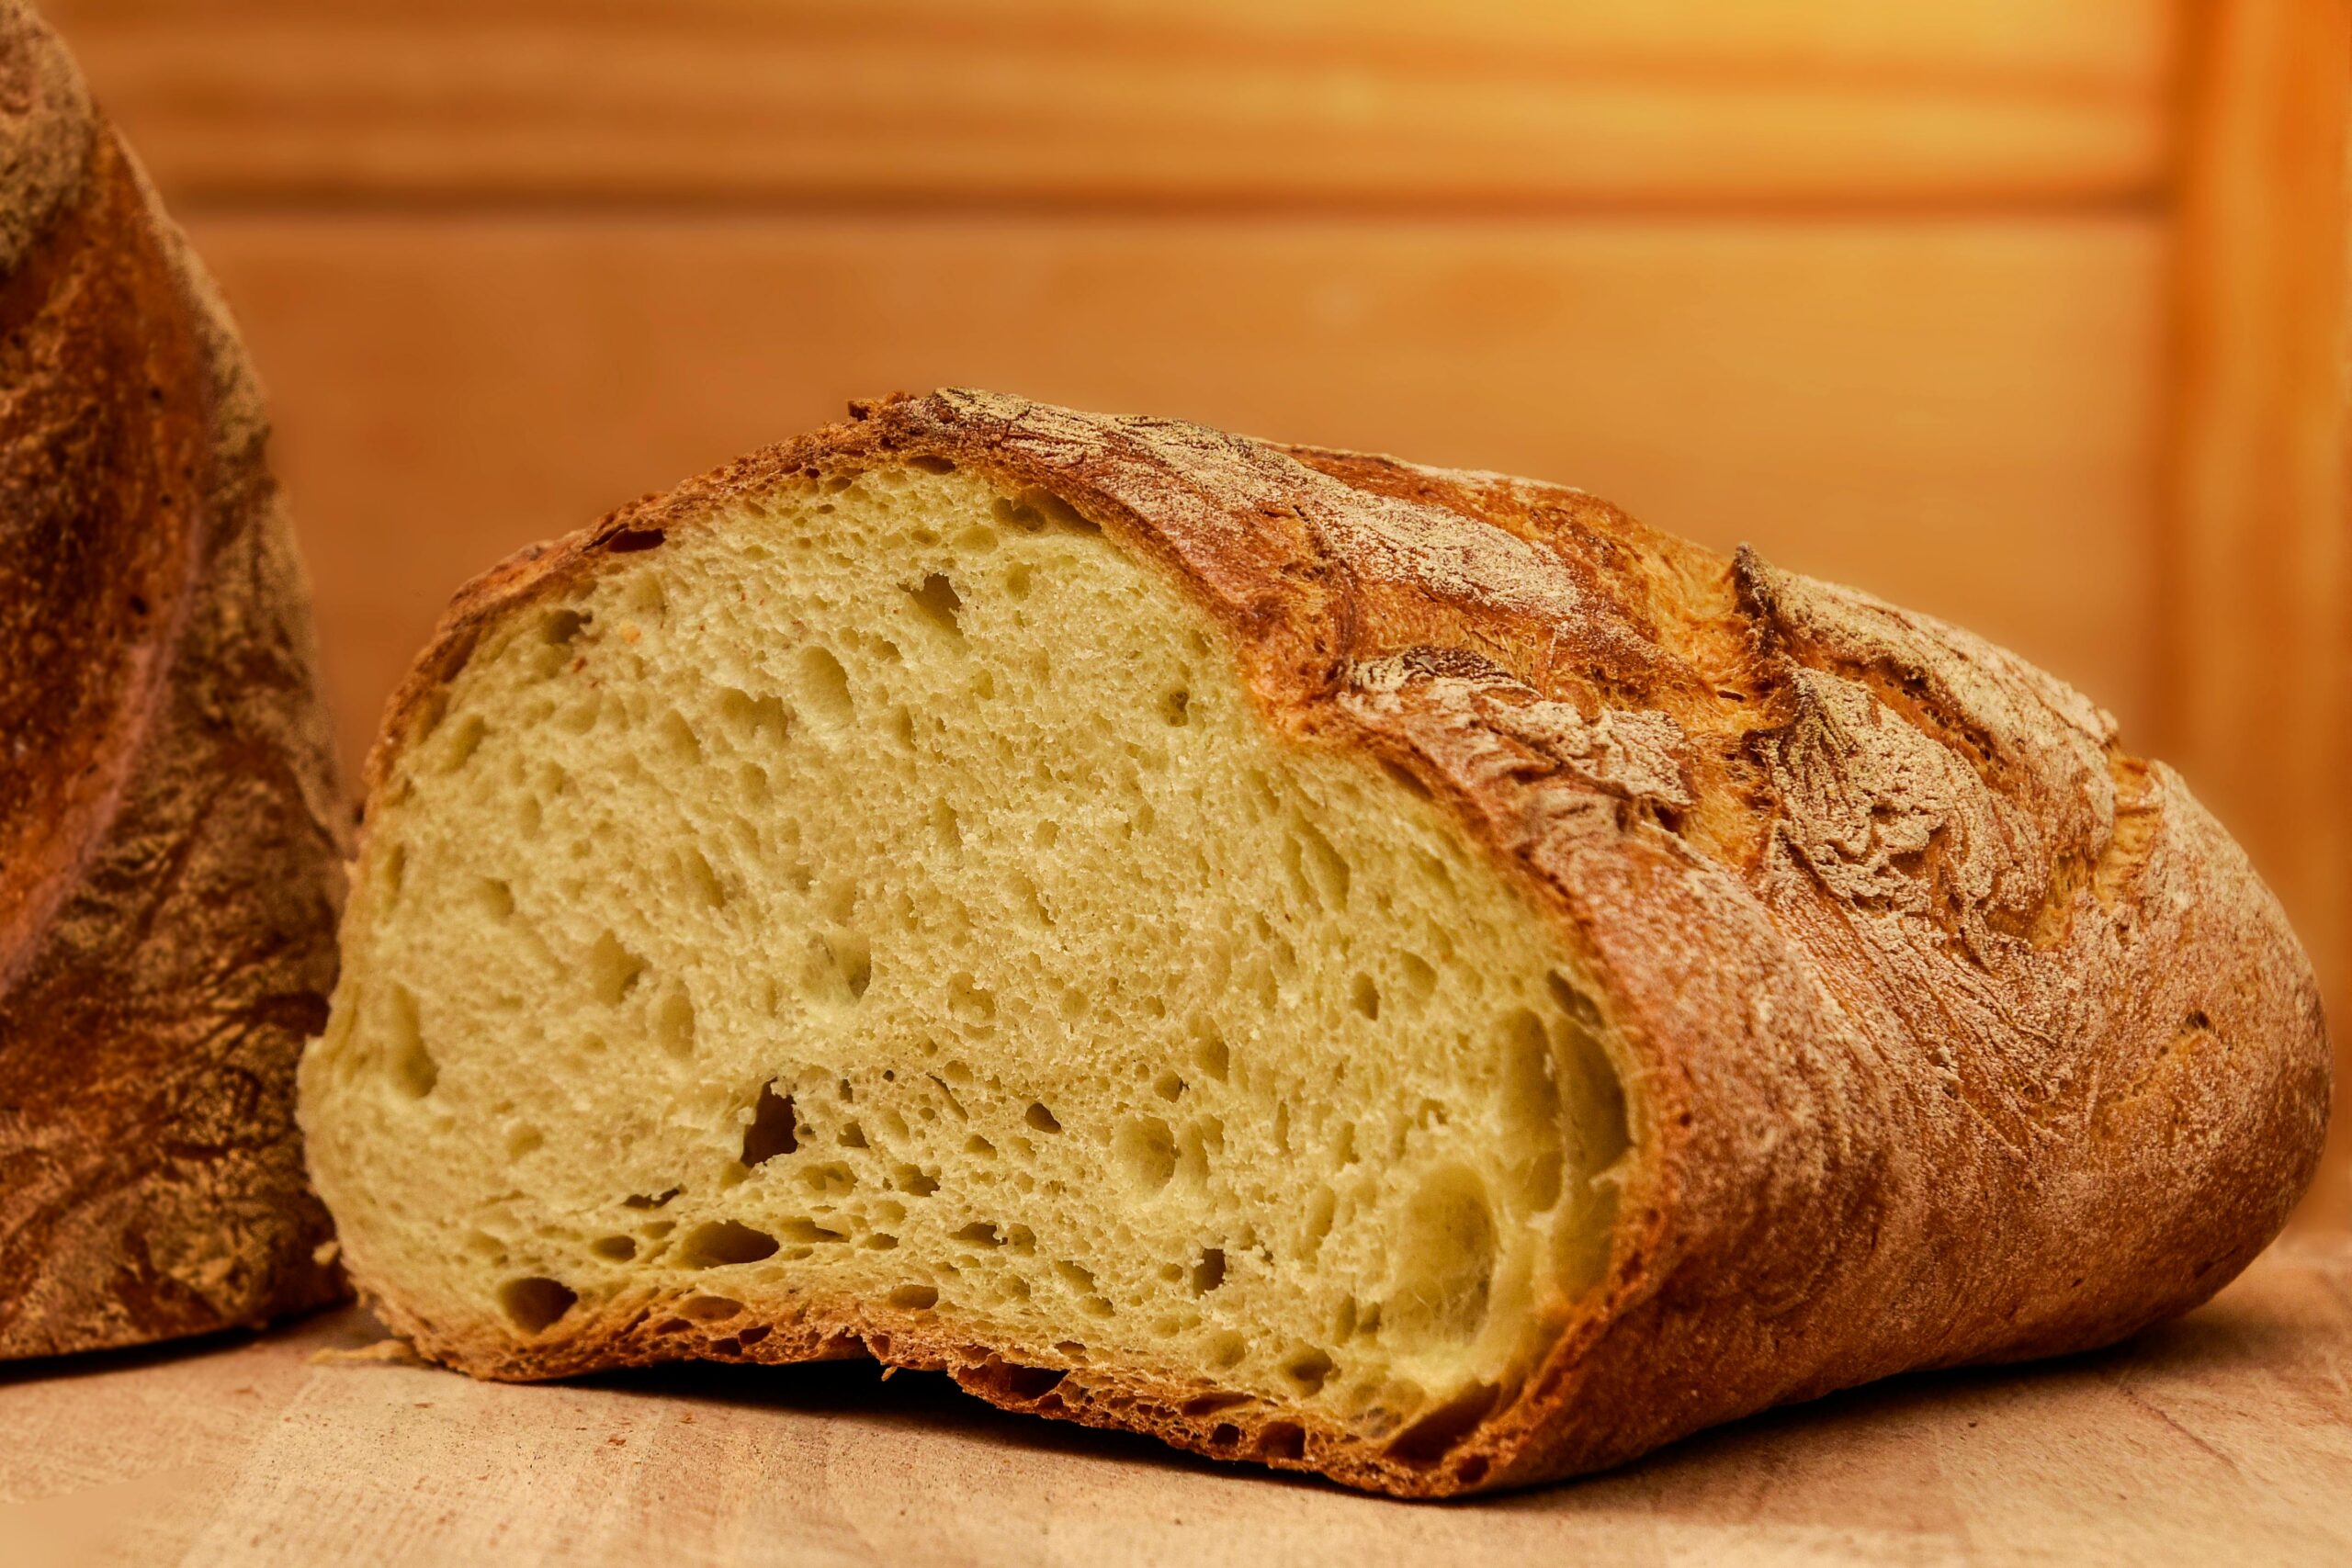
Visual and Textural Indicators of Health
A healthy starter at proper hydration displays specific characteristics. It should double reliably within its feeding cycle, show plenty of bubbles throughout (not just on the surface), and have a pleasant aroma reminiscent of yogurt, fresh apples, or beer. The texture should be creamy and elastic, not watery or separated.
If your starter becomes too liquid, it may be over-hydrated or over-fermented. Try reducing water slightly in your next feeding. If it’s too thick and stiff, increase water proportionally. These adjustments take effect over several feedings as the microorganism population rebalances to the new environment.
🥖 Flour Selection for Room Temperature Vitality
The type of flour you feed your starter dramatically affects its vigor and maintenance requirements. Whole grain flours—whole wheat, rye, or spelt—contain more nutrients, minerals, and natural yeasts than refined white flour. These feed your culture more completely, promoting robust fermentation and resilience.
Many bakers maintain their everyday starter with a mixture of whole grain and white flour, such as 25% whole wheat or rye combined with 75% bread flour or all-purpose flour. This blend provides nutritional benefits while maintaining a mild flavor and smooth texture that works well in various bread recipes.
Rye flour deserves special mention as a powerhouse for starter vitality. Even a small percentage of rye (10-20% of the flour in each feeding) can invigorate a sluggish culture thanks to its high enzymatic activity and rich nutrient profile. Many professional bakers consider rye an essential component of room-temperature starter maintenance.
Building Flour Inventory Strategically
When maintaining a starter without refrigeration, you’ll use flour more frequently than with a refrigerated feeding schedule. A 50-gram starter fed twice daily at 1:1:1 ratio consumes about 100 grams of flour daily—roughly 3 kilograms per month. Planning your flour purchases accordingly prevents unexpected shortages.
Store flour properly in airtight containers in a cool, dark place to maintain freshness. Whole grain flours contain natural oils that can turn rancid faster than refined flours, so buy these in smaller quantities or store them in the refrigerator or freezer. Always bring flour to room temperature before feeding your starter to avoid temperature shock.
Minimizing Waste While Maximizing Health
One concern many bakers have about room-temperature starter maintenance is the discard generated by frequent feedings. However, with thoughtful techniques, you can minimize waste significantly while keeping your culture in prime condition.
The simplest approach is maintaining a small starter volume. A 30-50 gram starter is perfectly viable and produces minimal discard while providing enough culture for most home baking needs. When you need a larger quantity for a recipe, simply build up your starter volume over one or two feedings before baking day.
Sourdough discard shouldn’t be viewed as waste but as a valuable ingredient. Use it in pancakes, waffles, crackers, muffins, pizza dough, and countless other recipes. Many bakers keep a dedicated discard container in the refrigerator, accumulating several days’ worth to use in weekend baking projects. This transforms maintenance “waste” into delicious bonus foods.
The No-Discard Feeding Method
For truly zero-waste maintenance, some bakers practice the “use it all” method. Each time you feed, use the entire starter volume in a recipe (or save a small amount for the next feeding), then build a fresh starter from that small portion. This approach works beautifully when you bake daily or every other day, as you’re constantly cycling through your culture.
For example, if you bake every other day, you might maintain just 10-15 grams of starter between bakes. The day before baking, build this small amount up through multiple feedings until you have the quantity needed for your recipe, plus a small amount to maintain the cycle. This technique requires planning but eliminates discard entirely.
📊 Troubleshooting Common Room Temperature Challenges
Even experienced bakers encounter occasional issues when maintaining starters at ambient temperature. Recognizing problems early and applying simple solutions keeps your culture thriving through minor setbacks.
If your starter develops an unpleasant smell—like nail polish remover, rotting fruit, or gym socks—it’s likely experiencing imbalanced fermentation. This often happens when feedings are spaced too far apart or the environment is too warm. Increase feeding frequency, reduce the temperature if possible, and the balance should restore within a few feedings.
A starter that refuses to rise or shows weak activity may need a nutrient boost. Try incorporating whole grain flour for several feedings, ensure your water isn’t chlorinated (let tap water sit overnight or use filtered water), and verify that your flour is fresh. Sometimes a mature starter simply needs rejuvenation through more frequent feedings for a few days.
Dealing with Hooch Accumulation
Hooch—the grayish liquid that sometimes forms on top of your starter—is simply alcohol produced by hungry yeast. It’s not harmful, though it does indicate your starter needs feeding. You can stir it back in for a more sour flavor profile, or pour it off for milder taste. Either way, feed your starter promptly and consider adjusting your schedule to prevent excessive hooch formation.
Persistent hooch despite regular feeding suggests your ratio might need adjustment. Try increasing the flour-to-starter ratio (feeding more abundantly) or slightly decreasing hydration to slow fermentation. These modifications help the yeast population better match the available food supply.
🌍 The Sustainability Advantage of Natural Management
Maintaining your starter at room temperature offers significant environmental benefits beyond the obvious elimination of refrigeration energy. This approach connects you to sustainable, low-impact food practices that have served humanity for millennia.
By working with ambient temperature rather than against it, you reduce your household energy consumption. While a single starter uses minimal refrigerator space, embracing room-temperature methods represents a mindset shift toward working with natural cycles rather than controlling them through technology. This philosophy can extend to other areas of food preservation and preparation.
Room-temperature maintenance also encourages daily engagement with your food. This regular interaction fosters a deeper understanding of fermentation, seasonal rhythms, and the living nature of your ingredients. Many bakers find this practice meditative and grounding—a daily ritual that connects them to the fundamental process of transforming simple ingredients into nourishment.
Building Resilience in Your Starter Culture
A starter maintained consistently at room temperature often develops greater resilience and adaptability than one refrigerated between uses. The constant activity keeps the microorganism population robust and diverse, better able to handle occasional variations in feeding schedule or environmental conditions.
Think of it like physical fitness: a starter “exercised” daily through regular fermentation cycles maintains strength and vitality, while one brought in and out of dormancy may need more recovery time and show less predictable behavior. This doesn’t mean refrigerated starters can’t be healthy—they absolutely can—but room-temperature cultures often demonstrate impressive vigor.
To build maximum resilience, maintain consistency in your feeding routine for at least two to three weeks. This allows your yeast and bacteria populations to stabilize and optimize for their environment. Once established, your starter becomes remarkably adaptable, able to handle occasional schedule disruptions, temperature fluctuations, or even brief periods of neglect without significant setbacks.
Developing Your Intuitive Skills
The most accomplished sourdough bakers develop an intuitive sense of their starter’s needs through observation and experience. They can assess readiness by smell, sight, and even the sound of bubbles popping. This expertise comes naturally when you interact with your starter daily at room temperature.
Keep a simple log during your first few weeks of room-temperature maintenance. Note feeding times, ambient temperature, how long until peak rise, and any observations about aroma or appearance. Patterns will emerge that help you optimize your specific routine. Over time, these notes become unnecessary as you internalize your starter’s rhythms.
Advanced Techniques for Master Bakers
Once you’ve mastered basic room-temperature starter maintenance, several advanced techniques can further optimize your process and expand your baking possibilities. Multiple-starter systems, where you maintain different cultures for specific purposes, allow extraordinary versatility.
For instance, you might keep a mild white flour starter for sandwich breads and soft rolls, alongside a tangy whole-grain rye starter for hearty country loaves. Each develops distinct flavor profiles and fermentation characteristics. Despite the apparent complexity, maintaining two or three specialized starters requires only marginally more time than maintaining one.
Temperature staging is another advanced technique where you deliberately move your starter through different temperature zones during its fermentation cycle to develop specific flavors or control timing. Starting fermentation in a warmer spot (75-80°F) for rapid initial activity, then moving to a cooler area (65-70°F) to slow and extend the development, creates complexity that single-temperature fermentation cannot achieve.
✨ Creating Your Personal Starter Sanctuary
Designating a specific space in your kitchen as your “starter station” helps establish routine and ensures your culture receives consistent care. This doesn’t require elaborate setup—just a spot where your starter jar lives, along with your feeding supplies and any tools you use regularly.
Many bakers find a simple tray or small section of counter becomes their dedicated sourdough space. Here, they keep their starter jar, a container of flour, a small scale, a clean spoon, and perhaps a marker for labeling. Having everything in one place streamlines the feeding process, making it quick and effortless rather than a chore requiring setup and cleanup.
Consider the aesthetic aspect as well. A beautiful crock or jar displayed prominently serves as a visual reminder of your commitment to this living culture. Some bakers even personalize their starter space with small decorations or meaningful objects that celebrate the breadmaking tradition. This transforms maintenance from mere task to meaningful ritual.
The Reward of Mastery and Connection
Mastering room-temperature starter management opens doors to exceptional baking that refrigerated schedules cannot fully match. Your starter becomes a reliable partner, always ready when inspiration strikes, exhibiting consistent behavior that allows precise timing for your baking projects.
Beyond practical advantages, this practice connects you to the unbroken chain of bakers stretching back thousands of years. Every feeding links you to ancestors who maintained their cultures through the same natural methods, without modern conveniences. There’s profound satisfaction in this continuity—in knowing you’re practicing an ancient craft using techniques that transcend trends and technology.
The confidence that comes from successfully maintaining a vibrant culture naturally, without artificial cooling or special equipment, represents true mastery. You’ve learned to work with natural processes, read subtle signs, and provide exactly what your starter needs through simple, sustainable actions. This knowledge extends beyond sourdough, teaching lessons about patience, observation, and working in harmony with living systems that apply throughout life.
Your thriving, room-temperature starter stands as daily proof that the best techniques are often the oldest ones—simple, sustainable, and aligned with natural rhythms. As you continue this practice, you’ll discover that what began as a bread-making method becomes a meditation on sustainability, tradition, and the quiet satisfaction of nurturing something alive with your own hands. 🍞